O’Toole Construction
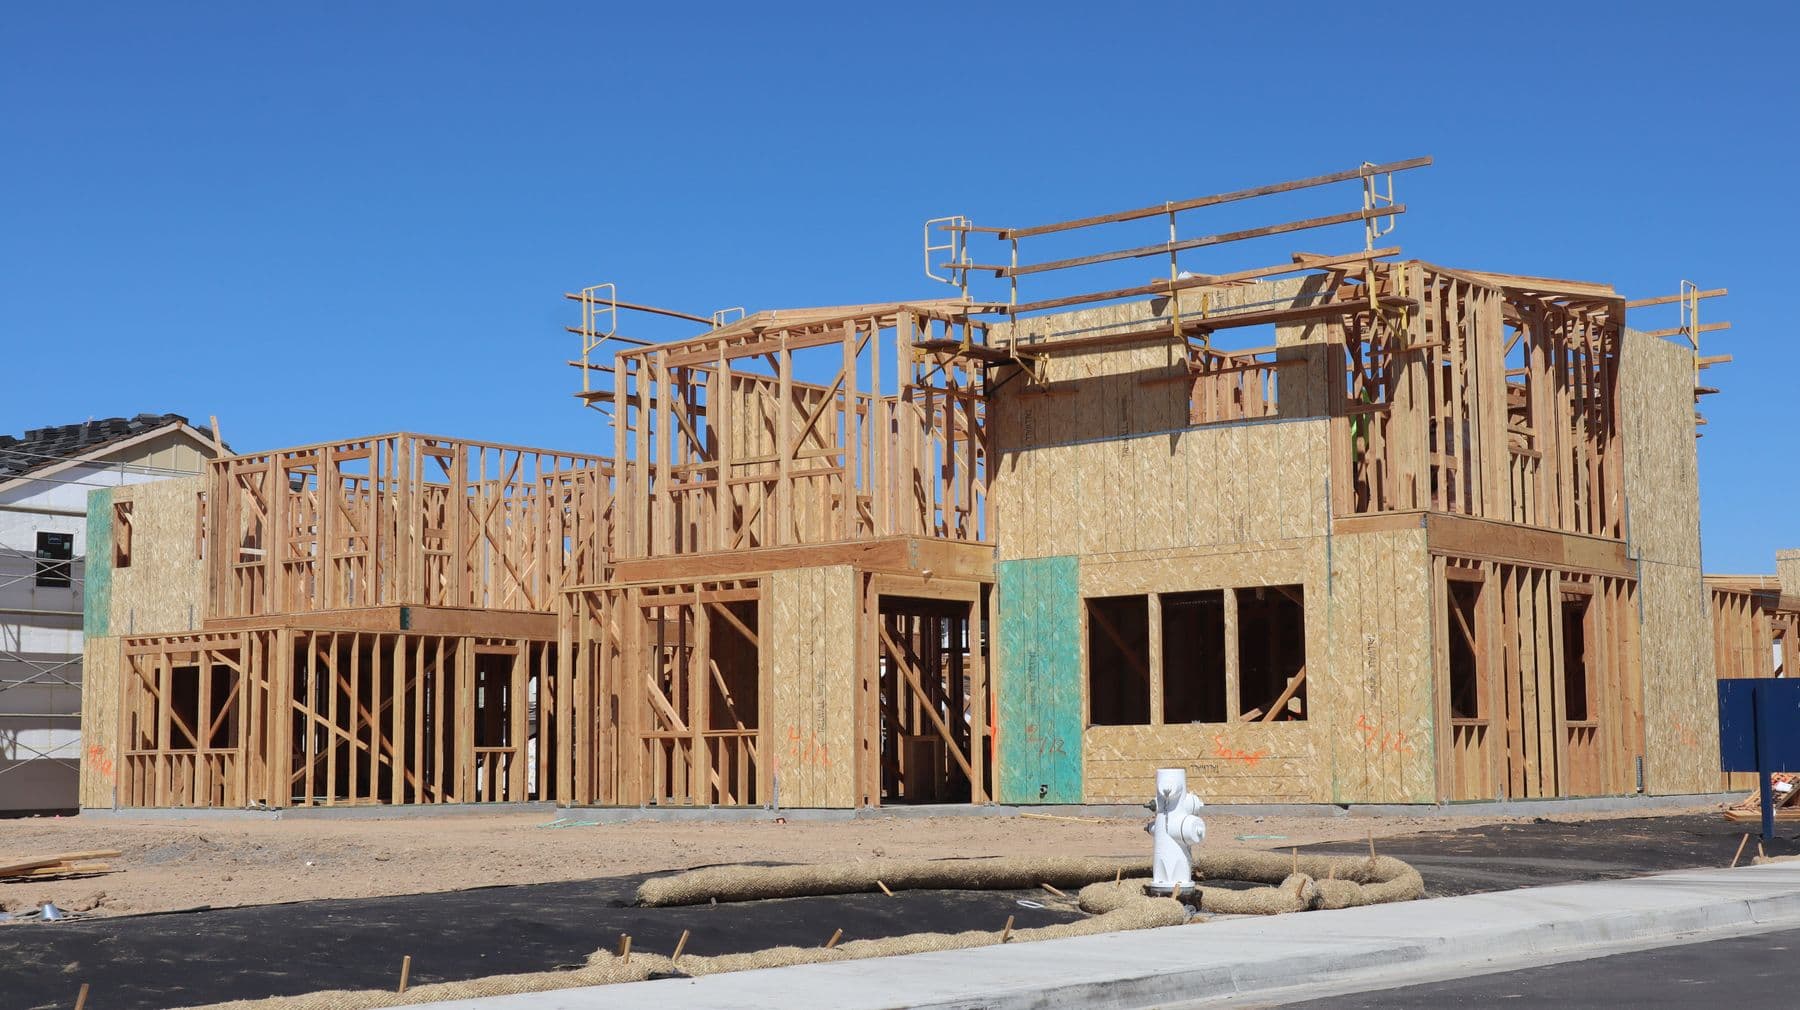
A two-story home under construction showing exposed wood stud framing against a blue sky

Build Standards

Our Principles are the values we hold. These are the field standards that make them real — the specific, mostly invisible details that separate a house that is merely finished from one that is built right. It starts with the lumber we choose — see Lumber Quality — and continues with how we treat every hole, fastener, and connection after that.

The Details Most Builders Skip

None of these add real cost — they save it, in callbacks that never happen and problems that never start. Here is where we get specific.

1

The Smallest Hole That Does the Job

We bore the smallest hole the wire or pipe actually needs — never an oversized one just to make the pull easier.

Every hole drilled through a stud, joist, or top plate removes material the frame depends on. Oversized, sloppy boring is one of the most common ways a structurally sound frame gets quietly weakened — a little at a time, hundreds of times over, across a whole house. We size each bore to the conductor or pipe going through it and keep it well inside the code limits for that member, so the wood keeps its strength.

Smaller holes also mean a tighter, more efficient house. Every penetration is a potential path for air, sound, and heat to move through a wall. A right-sized hole is far easier to seal completely — so the insulation does its job, drafts stay out, and your energy bills reflect it.

In Practice

  • Bore diameters kept within code limits for studs and joists, and held back from the edges, so notching and boring never compromise a load path.
  • Holes matched to the wire or pipe going through them — not drilled oversized for convenience.
  • Doubled or reinforced members on the rare occasion a larger penetration is genuinely unavoidable.
  • Every penetration sealed after rough-in so each hole is a barrier, not a bypass.
2

Every Penetration on the Same Line

We set a laser and bore every hole in a run dead-level and in line, stud to stud.

When holes wander up and down from one stud to the next, wires and pipes are forced to snake, sag, and cross each other — harder to pull, harder to inspect, and far more likely to be nicked by a screw or nail years later because nobody can predict where they run. We snap a laser line and drill every bore in a run at the same height, so each conductor and pipe travels straight, level, and supported.

A wall cavity built this way is not just tidy — it is safer and easier to live with. Straight, predictable runs at a known height mean the next trade, the inspector, and any future remodeler all know exactly where things are. For plumbing, aligned and correctly sized holes let pipes hold their pitch and run without binding stress on the joints.

In Practice

  • A laser line sets one consistent bore height across the entire run.
  • Wire and pipe runs kept straight and properly supported — no sag, no unnecessary bends.
  • Drain lines bored to preserve their required slope every foot of the run.
  • Uniform layout makes nail-plate protection continuous instead of hit-or-miss.
3

Snug, Never Stripped

Every fastener is set to grip the material — not driven until it crushes, strips, or breaks.

An overdriven screw is often weaker than one set correctly. Lean on the trigger and you tear the drywall's paper face, strip the threads out of the wood, snap the screw, or crush the very fibers the fastener is supposed to grab. The connection looks tight, but it has lost its holding power — and that is exactly how you get nail pops, loose decking, racked cabinets, and squeaks down the road.

So we match the fastener and the torque to what we are fastening, using clutch settings, depth stops, and dimpler bits instead of guesswork. Drywall screws are set just below the paper without breaking it. Structural lags are torqued to spec. Cabinet screws are snugged so the box stays square and the doors stay aligned. Composite decking is driven to the manufacturer's setting so it never mushrooms.

In Practice

  • Drywall screws dimpled just below the surface without tearing the paper face.
  • Clutch and depth-set drivers tuned to the material — not maxed out on every fastener.
  • Structural lags and bolts torqued to spec: tight enough to hold, not so tight they crush the wood.
  • Cabinet and hardware screws set so boxes stay square and hinges run smooth.
4

Protected and Sealed Penetrations

Anything we run through framing is protected from future fasteners and sealed against air and fire.

A wire or pipe near the face of a stud is one careless drywall screw away from a dead circuit or a hidden leak. Wherever a penetration sits within striking distance of a framing edge, we cover it with a steel nail plate so a future screw or trim nail cannot reach it. Because we bore in straight, level lines, that protection goes on in a clean, continuous row instead of being missed here and there.

Every hole we open, we also close. Penetrations get sealed with the right material for the assembly — fire-rated caulk through rated walls and floors, air sealing everywhere else — so the holes we drilled never become the paths that let in air, sound, pests, or fire.

In Practice

  • Steel nail plates over any wire or pipe within about an inch and a quarter of a framing edge.
  • Fire-rated sealing at penetrations through rated assemblies.
  • Air sealing at penetrations to keep the building envelope continuous and tight.
  • Protection installed in unbroken lines, thanks to laser-aligned boring.
5

Glued and Screwed — Built Not to Squeak

Subfloors are glued to every joist and mechanically fastened — not just shot down with nails.

That squeak you hear years later is almost always a subfloor rubbing against a joist, or a fastener that has slowly backed out. We bed the subfloor in construction adhesive on every joist and fasten it on a tight, consistent schedule, so the floor and the framing act as one and stay quiet. Panels are gapped per the manufacturer to allow for expansion, and seams are staggered so the floor stays flat and strong.

The same thinking carries up the stairs — treads and risers glued, screwed, and blocked rather than nailed-and-hoped — because the stairs are where a little movement or a squeak is felt the most.

In Practice

  • Construction adhesive on every joist before the subfloor goes down.
  • Subfloor fastened on a tight, consistent schedule — screws where they earn their keep.
  • Panel edges gapped for expansion; seams staggered for flatness and strength.
  • Stair treads and risers glued, screwed, and blocked to stay silent.
6

Backing for Everything, Before the Drywall

Solid blocking goes in for everything that gets mounted later — while the wall is still open.

The cheapest time to add backing is before the drywall. The most expensive is after a homeowner's grab bar tears out of the wall. So before we close anything up, we install solid blocking for everything that might hang on a wall down the road — grab bars and towel bars, vanities and cabinets, TVs, handrails, closet systems, and shelving. We would rather install backing that never gets used than leave you guessing where it is safe to mount something.

Where it helps, we note what is behind the drywall, so you — or whoever works on the home next — can mount with confidence instead of hunting for studs and hoping for the best.

In Practice

  • Blocking for grab bars, handrails, and anything safety-related — every time, without being asked.
  • Backing for cabinets, vanities, mounted TVs, shelving, and closet systems.
  • Continuous nailers where future fixtures are likely, not only where they are drawn.
  • Backing locations recorded so nothing becomes a mystery after the walls close.
7

The Right Connector, Installed Right

Structural connectors get the exact fasteners they're rated for — no substitutions, no shortcuts.

A joist hanger is only as strong as the nails in it. Filling a hanger with the wrong fasteners — or worse, with drywall or roofing screws — is a classic shortcut that turns a rated connection into a guess. We fill every connector hole with the specified fastener, use structural screws only where they are rated, and choose corrosion-resistant fasteners anywhere weather or treated lumber is involved.

Getting the connection right is invisible the day we finish and decisive every day after. It is the difference between hardware that performs the way the engineer intended and hardware that is just along for the ride.

In Practice

  • Every joist-hanger and connector hole filled with the specified nail or structural screw.
  • No drywall or roofing fasteners ever standing in for rated connectors.
  • Coated or stainless fasteners with treated lumber and on all exterior work.
  • Connectors seated tight to the member and fully fastened, every time.

Standards You Can Hold Us To

These are not aspirations — they are how we work on every project, enforced through checklists and QA gates. If you want a builder who sweats the parts you will never see, let’s talk.

Ready to Build Something Great?

Whether you’re a builder planning your next phase or a homeowner starting a project, we’re ready to deliver.